
Ordering a custom box starts before you choose paper, printing, or finishes. It starts with accurate measurements. A box that is only a few millimeters too tight can crush a product or prevent the lid from closing; one that is too large can allow movement, increase material use, and make the presentation feel less considered.
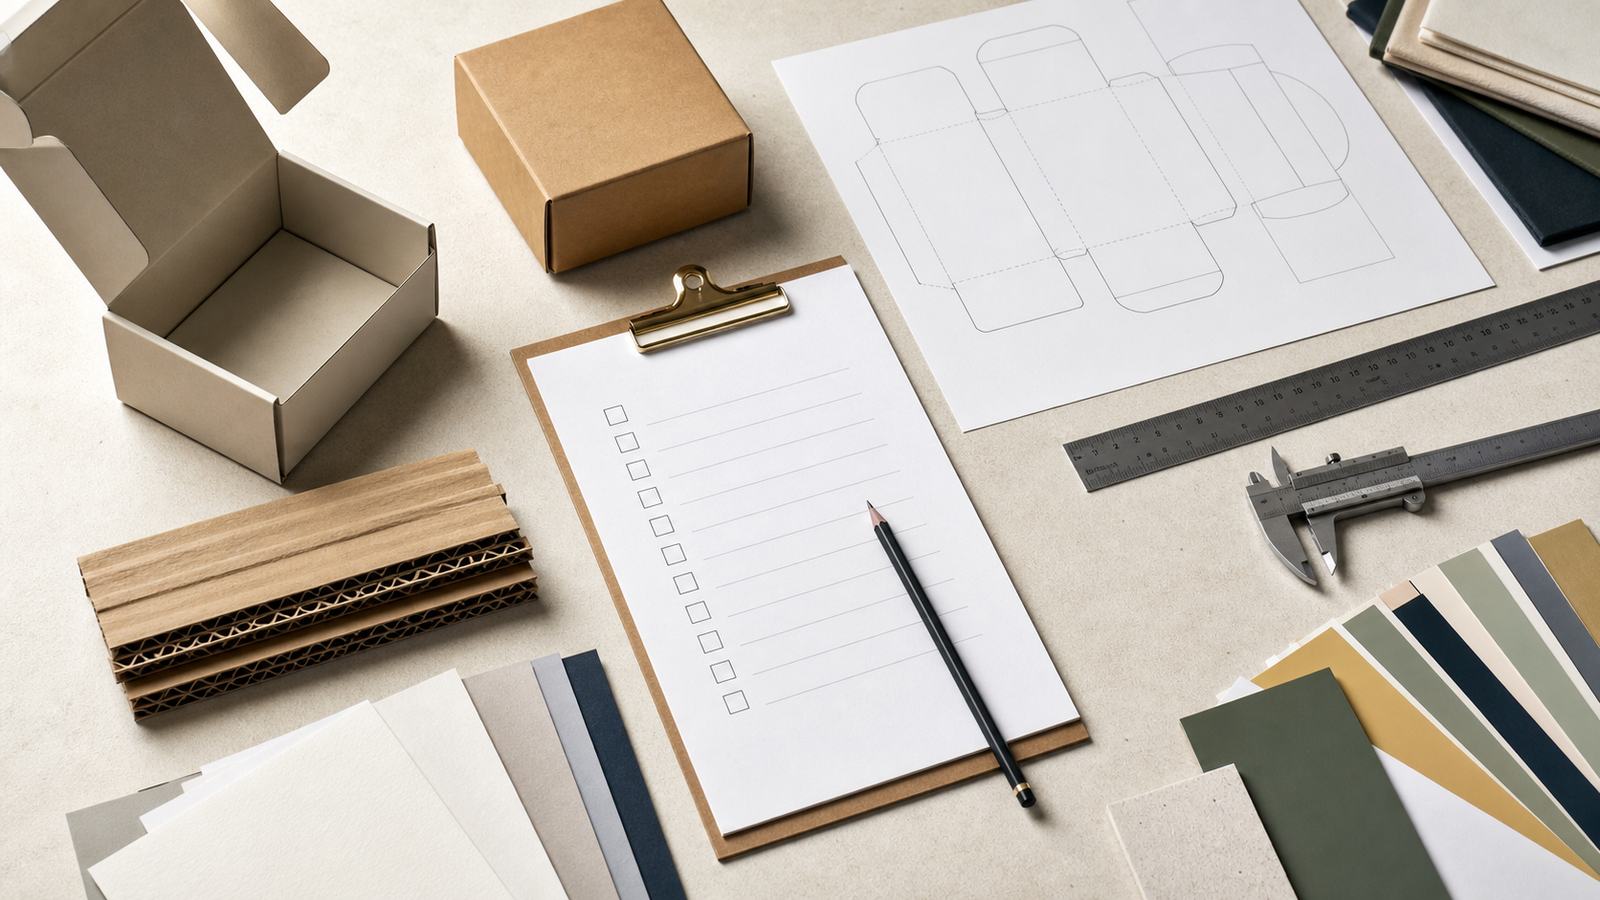
This guide explains how to measure a product for a custom box, translate those measurements into usable internal dimensions, and give a packaging supplier the information needed to recommend a practical structure.
Start with the product in its final packed condition
Do not measure only the bare product if the customer will receive it with other components. Assemble one complete pack exactly as it will ship or sit on a retail shelf. Include trays, cups, liners, tissue, instruction cards, dividers, ribbons, protective sleeves, and any accessory that must fit inside.
For soft or irregular products, prepare several representative samples. A bakery item may vary slightly between batches, while a fabric product may compress. Measure the largest normal sample rather than an unusually small one, but do not add arbitrary space to cover major production variation. If dimensions vary significantly, tell the supplier and discuss an insert or a second box size.
Measure length, width, and height correctly
Use a rigid ruler or caliper for small items and a tape measure for larger ones. Place the product on a flat surface and record the maximum dimension in each direction:
- Length: the longest side of the product when viewed from above.
- Width: the shorter side when viewed from above.
- Height: the vertical distance from the base to the highest point.
Write dimensions in a consistent order, such as L × W × H, and always state the unit. “180 × 120 × 60 mm” is clear; “18 × 12 × 6” is not. Take each measurement twice and photograph the ruler beside the product if any shape is difficult to describe.
For round, tapered, or irregular products
Measure the maximum outside dimensions, not the narrowest points. For a round jar or cake, record the widest diameter and full height. For a handled mug, the length must include the handle. For a tapered container, measure the widest rim. If the product has a fragile decoration, measure to the outermost point that needs protection.
Convert product size into box internal dimensions
When discussing custom box dimensions, confirm whether the supplier is quoting internal or external size. Internal dimensions describe usable space; external dimensions include the material thickness and can affect shipping cartons, shelf fit, and freight calculations.
The box interior normally needs a small amount of clearance, but there is no universal allowance. The right space depends on the product, board thickness, box style, assembly method, insert, and desired fit. A rigid gift box with a fitted insert has different tolerances from a folding carton or a corrugated shipping box.
Instead of adding a fixed number yourself, send the exact maximum product dimensions and describe the fit you want:
- Close fit: limited movement and a compact presentation.
- Easy-load fit: enough room for quick packing or delicate surfaces.
- Protective fit: space for padding, a divider, or a structural insert.
Ask the supplier to state the proposed internal dimensions on the quotation and dieline. This creates a clear point to verify before production.
Account for inserts, windows, and closures
An insert changes the usable space inside a box. Measure the product first, then explain where the insert should hold it and which areas must remain visible. If the product sits in a recessed paperboard or foam insert, provide the depth and the position of any protruding parts.
For bakery packaging, allow for cake boards, toppings, handles, window placement, and the space needed to lower the product into the box without touching decoration. If you are comparing window options, see this guide to bakery box window materials.
Closures also affect fit. Tuck flaps, locking tabs, magnetic lids, and ribbon closures occupy different amounts of space or require access during packing. Tell the supplier how the box will be assembled and whether staff will pack it by hand.
Check the dimensions against real use
A technically correct box can still fail in daily operations. Before approving production, test a plain sample or prototype with the actual product and packing materials. Check that:
- the product can be inserted and removed without damage;
- the lid or flaps close without force;
- the product does not rotate, tip, or rub against printed surfaces;
- the box fits the intended shelf, bag, shipping carton, or storage space;
- staff can assemble and pack it at a practical speed.
For food products, size is only one part of the decision. Review material suitability and supplier documentation as described in our food-safe bakery packaging guide. If the box also needs shipping strength, compare paperboard and corrugated boxes before selecting a structure.
What to send with your measurement request
A useful request includes the product dimensions, units, photos, total packed weight, required quantity, preferred box style, and intended use. Add artwork status, destination, timing, and whether you need an insert or window. Our custom packaging inquiry checklist covers the complete set of details that can help a supplier prepare a more accurate response.
You can also browse the custom packaging product gallery to identify structures or opening styles that match your product. Use examples as a starting point, then confirm measurements with a physical sample.
Final measurement checklist
- Measure the largest normal product in its final packed condition.
- Record maximum L × W × H and state millimeters or inches.
- Include all inserts, boards, liners, accessories, and decorations.
- Describe the desired fit instead of guessing a clearance allowance.
- Confirm whether quoted dimensions are internal or external.
- Test a physical sample with the actual product before mass production.
Accurate measurements reduce revision cycles and make quotations easier to compare. If your product is irregular or you are unsure which structure fits it, send clear photos and dimensions through the contact page and ask for a recommended internal size and sample plan.